
The importance of good video editing
Video editing is an invisible art that brings a story to life. Raw footage, no matter how beautifully shot, is just a collection of moments until an editor weaves them into a cohesive narrative.
Good editing dictates the pace, builds the emotional arc, and keeps the viewer engaged from the first frame to the last. It allows you to remove distractions, highlight crucial information, and fix minor mistakes made during production.
In today's fast-paced digital world, where attention spans are shorter than ever, effective video editing is not just a technical skill; instead, it is an essential tool for effective communication and audience retention.
Things to keep in mind before you start editing
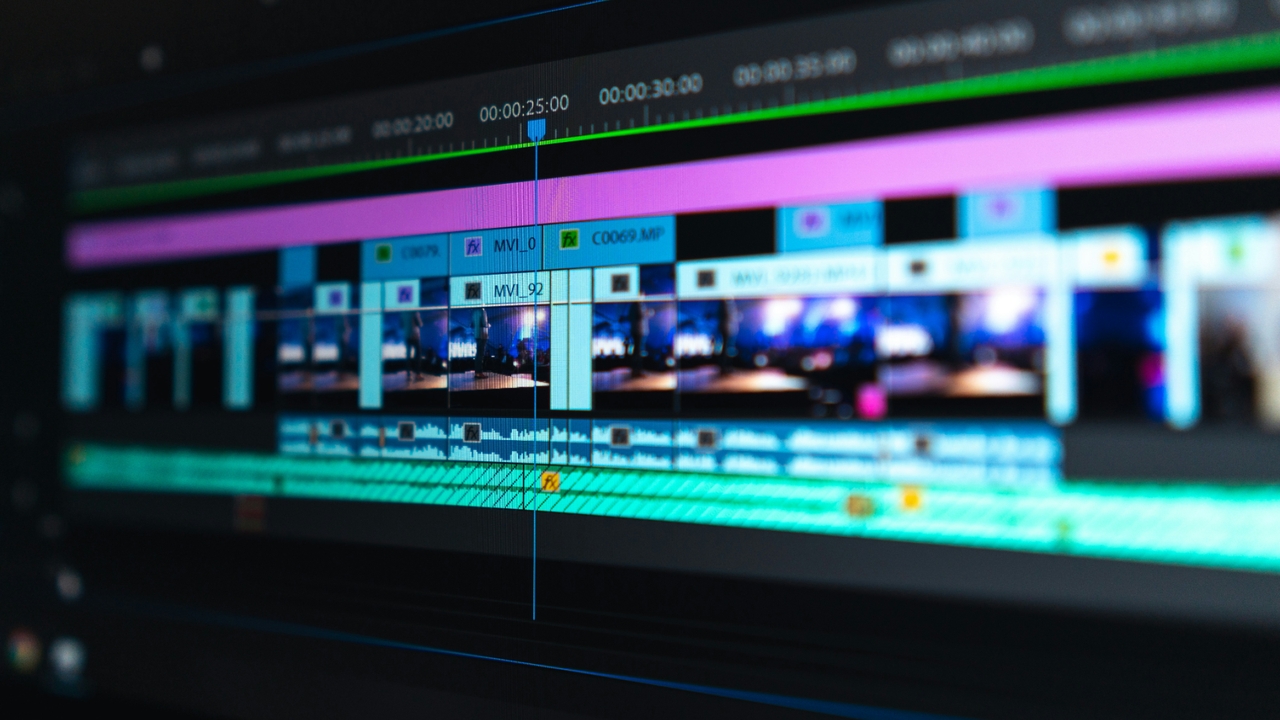
Before you even open your editing software and drop your first clip onto the timeline, taking a few preparatory steps can save you hours of frustration and creative block.
- Organize your footage: Create a strict folder structure for your video, audio, graphics, and project files. Proper organization prevents missing media errors and speeds up your entire workflow significantly.
- Choose the right software: Select an editing platform that matches your skill level and project needs. Whether it's Premiere Pro, DaVinci Resolve, or iMovie, ensure your hardware can run it smoothly.
- Review all your raw clips: Watch everything before cutting. Familiarize yourself with every take, noting the best moments and unusable sections. This mental map makes piecing the story together much easier.
- Define your story and goal: Understand the core message of your video. Are you trying to educate, entertain, or sell? Keep this primary objective in mind to guide every creative decision you make.
- Back up everything: Never rely on a single hard drive. Implement the 3-2-1 backup rule to ensure your precious footage and project files are safe from unexpected hardware failures or corruption.
Top 12 video editing tips for beginners
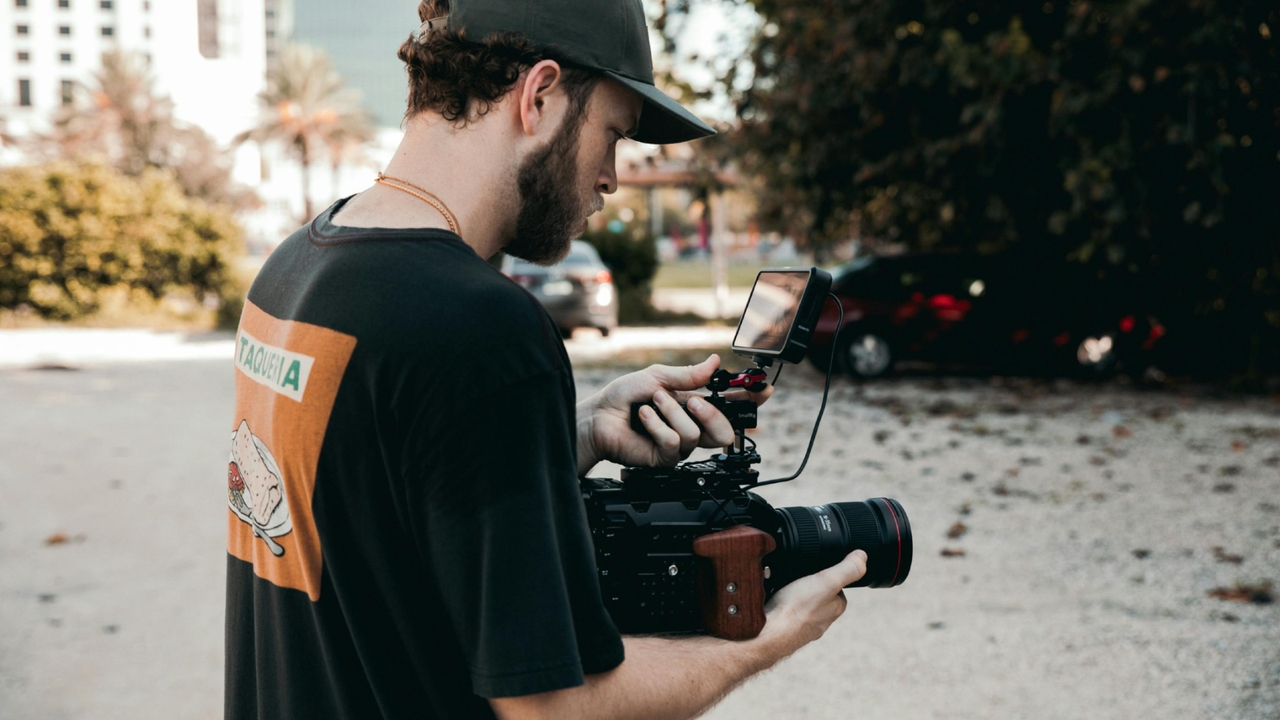
Mastering the art of video editing takes time, practice, and a keen eye for detail. Here are ten essential video editing tips to elevate your projects from amateur to professional.
- Master keyboard shortcuts
The fastest way to improve your editing speed is by memorizing keyboard shortcuts. Relying solely on your mouse wastes valuable time during a long project. Learn the hotkeys for the razor tool, ripple delete, play/pause, and undo.
Most professional editing software allows you to map custom shortcuts to your keyboard. Once these keystrokes become muscle memory, your editing process will feel fluid, allowing you to focus entirely on storytelling rather than navigating drop-down menus.
- Utilize J and L cuts
A harsh cut where the audio and video change simultaneously can feel abrupt. J and L cuts are essential techniques to smooth out transitions.
In a J-cut, the audio from the next clip starts playing before the video cuts over. In an L-cut, the video changes while the audio from the previous clip continues.
These overlapping edits mimic how we experience conversations in real life, making your dialogue scenes feel natural, professional, and visually engaging.
- Edit to the rhythm of your music
Music shouldn't just be an afterthought; it should drive the pacing of your video. When laying down a music track, look at the audio waveforms to identify prominent beats. Cutting your video clips on these beats creates a satisfying, rhythmic experience that naturally engages the viewer.
However, be careful not to cut on every single beat, as this can make your video feel chaotic. Mix up the pacing by occasionally letting a shot breathe.
- Cut on action for seamless transitions
If you want a cut to be invisible, hide it within a movement. Cutting on action involves transitioning from one shot to another while the subject is moving, like opening a door, throwing a punch, or turning their head.
This is because the viewer's eye is naturally drawn to the motion, they are less likely to notice the cut itself. This technique creates a continuous, fluid visual flow that prevents jarring interruptions and keeps your audience immersed.
- Prioritize sound design and audio mixing
Audiences will forgive poor video quality, but they will immediately click away from bad audio. Ensure your dialogue is crisp, properly leveled, and free of background noise. Use subtle sound effects to add depth to your environment.
When mixing, make sure your background music isn't overpowering your dialogue. Use audio ducking to lower the music volume whenever someone is speaking, creating a clean and professional auditory experience.
- Use B-roll to add context and hide mistakes
A-roll is your primary footage, typically a talking head or main action. B-roll is the supplemental footage that provides context and establishes the setting. Don't just rely on static interviews; use B-roll to show what the subject is talking about.
Furthermore, B-roll is an editor's best friend for hiding jump cuts or mistakes in the main footage. Layer a relevant B-roll clip over a cut to seamlessly maintain visual continuity.
- Understand color correction vs. color grading
Before you apply cinematic filters, you must fix your base footage. Color correction comes first: adjusting the white balance, exposure, and contrast to ensure your clips look natural and consistent.
Once your footage is normalized across the timeline, you can move on to color grading. Grading is the creative process of altering the colors to evoke a specific mood or atmosphere, like adding a cool blue tint for a thriller.
- Keep the video flow concise
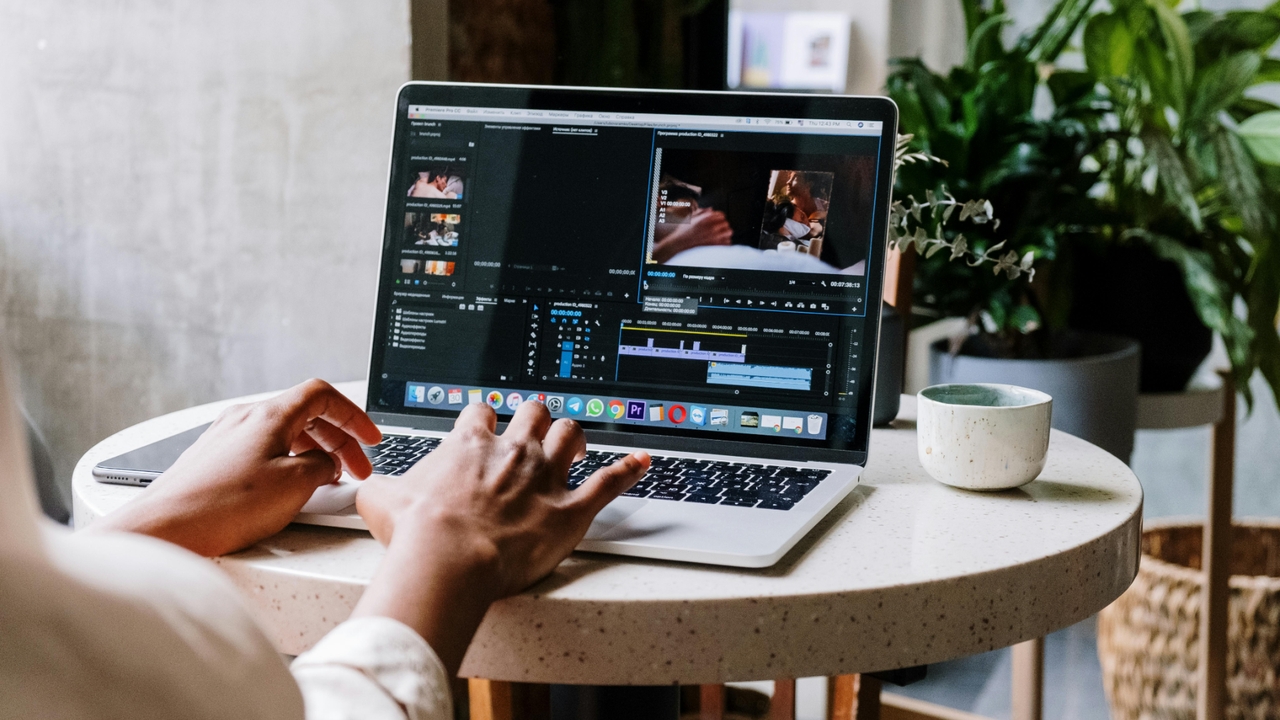
One of the hardest lessons for new editors is learning to be ruthless with footage. Just because a shot looks beautiful doesn't mean it belongs in the final edit. If a clip doesn't advance the story, delivers crucial information, or builds the intended emotion, cut it.
Overlong pauses, repetitive statements, and unnecessary fluff will bore your audience. Prioritize a tight, engaging narrative over preserving every piece of footage.
- Step away and take breaks
Editing requires intense focus, and staring at a timeline for hours causes "editor's fatigue". You lose your sense of pacing, and mistakes start to slip through. To combat this, take regular breaks to stretch or go for a walk.
More importantly, before exporting your final draft, sleep on it. Watching your edit with fresh eyes the next morning will almost always reveal pacing issues or storytelling gaps that you missed the night before.
- Optimize your export settings
All your hard work means nothing if your video looks pixelated upon upload. Understand the specific export requirements for the platform you are targeting. YouTube, Instagram, and TikTok all have different ideal resolutions, aspect ratios, and bitrates.
Generally, exporting in H.264 or H.265 (HEVC) provides the best balance of high quality and manageable file size. Double-check your settings to ensure your final product looks exactly as you intended.
- Use templates and presets to save time
Why reinvent the wheel for every project? Utilizing templates for your intros, lower thirds, and animated text can drastically reduce your editing time while maintaining a consistent, professional look. Similarly, saving your favorite color grading adjustments or audio EQ settings as custom presets allows you to apply complex, multi-step changes with a single click.
Leveraging these tools helps you avoid repetitive tasks, freeing up your energy to focus on the creative storytelling aspects of your video.
- Add captions for accessibility and engagement
In an era where a significant portion of social media video is consumed on mobile devices with the sound turned off, captions are no longer optional. Adding accurate subtitles ensures your message reaches everyone, including viewers in quiet environments or those with hearing impairments.
Captions also dramatically boost viewer retention, as people are more likely to watch a video through to the end if they can read along. Take advantage of the auto-captioning features built into modern editing software to make this process fast and efficient.
How can AI help you edit videos effortlessly?
The landscape of video creation is evolving rapidly, and artificial intelligence is now here to help you edit videos effortlessly. Gone are the days of manually tweaking complicated timelines or starting from scratch to fix a minor error.
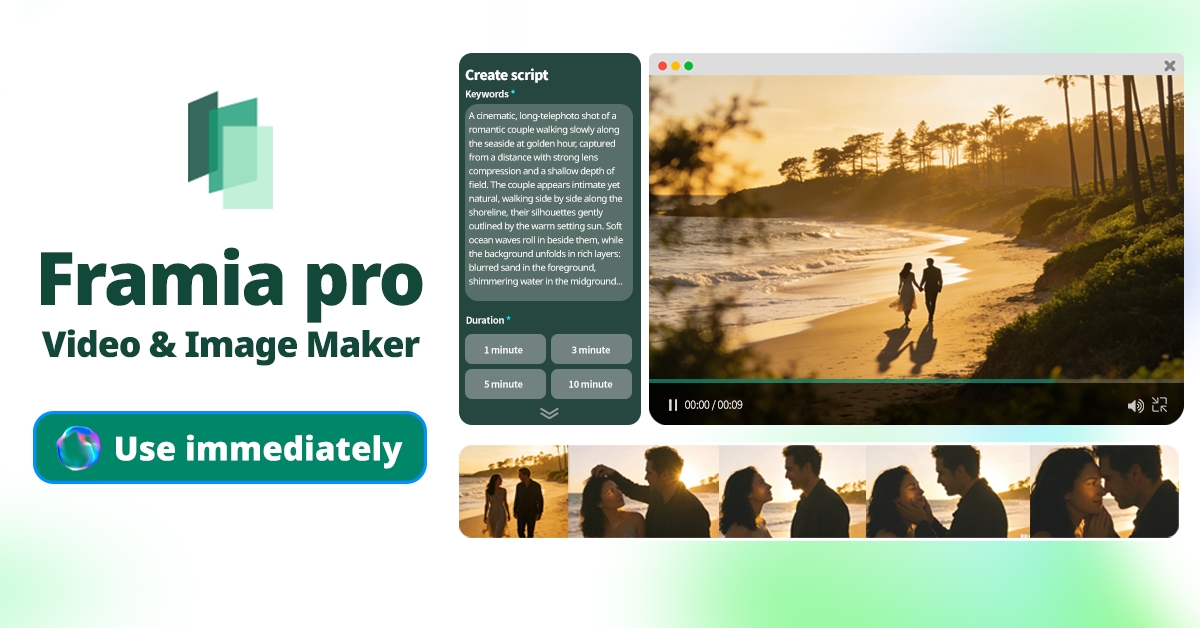
Enter Framia Pro, a revolutionary AI platform that allows you to edit and generate professional videos using simple textual commands. Instead of relying on traditional tools, you simply describe what you want the AI to fix or create, making high-end editing incredibly intuitive.
Key features of Framia Pro for AI video editing
Discover how Framia Pro transforms your creative workflow with these five cutting-edge features designed to make video editing completely effortless.
- Chat-to-edit functionality: Select any video segment and type what you want to fix for targeted corrections without regenerating the entire video.
- Full-SOP automation: Automate scriptwriting, main shot composition, and perfectly synced background music, saving 80-90% of your traditional video editing time effortlessly.
- Storyboard timeline editor: Utilize a visual timeline where clips are arranged automatically, allowing for agent-assisted editing and precise audio-visual synchronization tools.
- Specialized video agents: Choose the Shorts Agent for quick, digestible content or the Movie Agent for cinematic storytelling with deep emotional dialogue.
- Perfect character consistency: Maintain the exact same characters seamlessly across multiple shots, which is absolutely perfect for continuous storytelling and branded content.
How to AI edit your video with Framia Pro in 3 simple steps?
Ready to create your masterpiece? Follow these three incredibly simple steps to generate and refine professional videos in mere minutes.
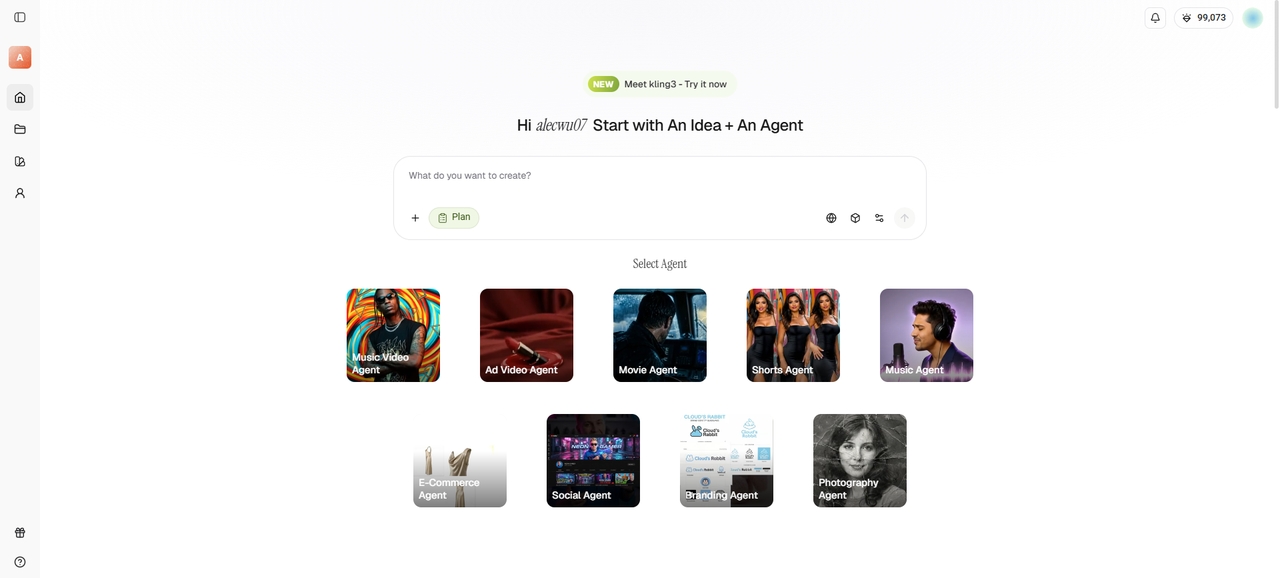
Step 1: Generate the base video
Let Framia Pro's specialized agents auto-generate your initial storyboard, complete with context-aware B-roll, background music, and sound effects.
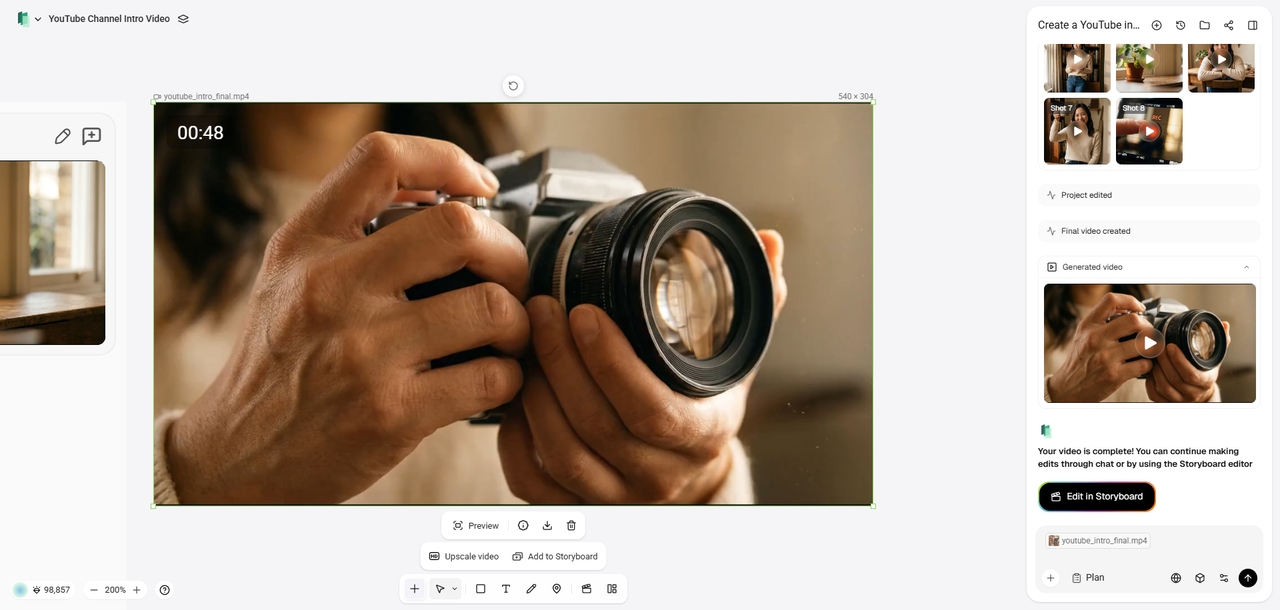
Step 2: Edit with text inputs
Use the "Edit in Storyboard" feature to select specific segments on the visual timeline and simply type your desired targeted corrections.
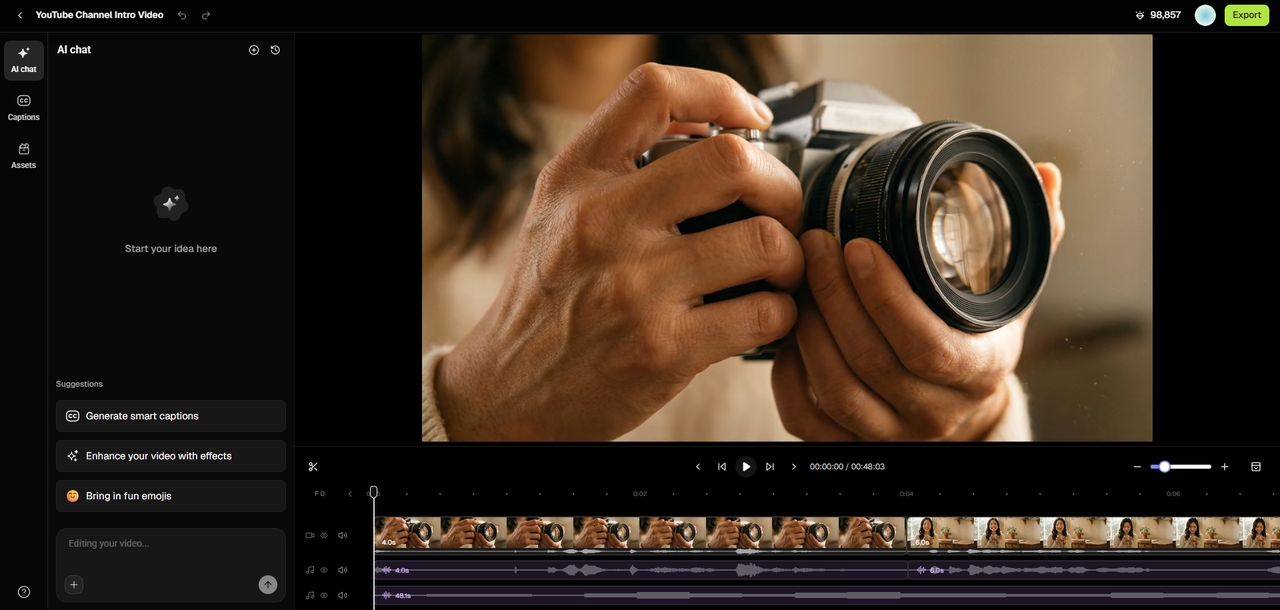
Step 3: Export instantly
Once satisfied with your AI-assisted edits, effortlessly "Export" your final, upload-ready masterpiece to your local storage.
Common mistakes to avoid when editing videos
Even seasoned editors stumble. Avoiding common pitfalls is just as crucial as mastering new techniques. Here are five frequent video editing mistakes you must actively avoid to maintain professional quality.
- Overusing transitions: Instead of relying on flashy star wipes or excessive cross-dissolves, stick to simple, clean cuts. Overused transitions distract the viewer and instantly make your video look amateurish and highly unprofessional.
- Poor audio mixing: Ignoring your audio levels is a fatal error. Never let background music overpower your primary dialogue. Always use audio ducking and ensure voice tracks are crisp, clear, and perfectly balanced.
- Ignoring the pacing: Cutting too fast causes viewer fatigue, while cutting too slow breeds absolute boredom. Pay strict attention to your video's natural rhythm and ensure each scene breathes exactly as it should.
- Inconsistent color grading: Failing to match colors across different shots completely shatters visual continuity. Always color correct your base footage first before applying any creative stylistic grades to ensure a seamless visual experience.
- Forgetting to backup: Losing hours of hard work to a crashed hard drive is utterly devastating. Always implement a strict backup system. Save your project files constantly and keep media on multiple drives.
Wrapping up
Mastering video editing is an ongoing journey of balancing technical precision with compelling storytelling. From organizing your initial footage and utilizing crucial keyboard shortcuts, to prioritizing crisp audio and seamlessly cutting on action, these practices are foundational for any creator.
However, the future of content creation doesn't require endless hours tweaking complex timelines. By leveraging Framia Pro, you can instantly eliminate tedious manual labor. With its intuitive chat-to-edit features, full-SOP automation, and specialized video agents, Framia Pro empowers you to produce stunning, professional-grade videos effortlessly.
Embrace the power of Framia Pro and transform your entire creative workflow today.
FAQs
What are some essential tips for editing videos for YouTube?
Focus on strong hooks in the first few seconds. Maintain viewer retention by cutting out fluff, adding relevant B-roll, and ensuring your audio quality remains consistently clear throughout the video.
What is the best way to handle large video files?
Organize your media into clearly labeled folders before importing. Utilize video proxy files during the editing process to reduce timeline lag and ensure playback remains smooth on standard computer hardware.
Why is audio mixing important in post-production?
Poor audio immediately distracts viewers from high-quality visuals. Proper mixing balances dialogue, sound effects, and background music, ensuring spoken words are easily understandable and the overall sound is highly professional.
How does AI software improve the editing process?
AI tools, like Framia Pro, automate repetitive tasks like auto-captioning, audio leveling, and initial storyboarding. This allows video editors to focus primarily on creative decisions, significantly reducing the overall time required for post-production.
How can I quickly learn new video editing tips and tricks?
Start by mastering basic keyboard shortcuts to rapidly speed up your workflow. Practice regularly, watch professional tutorials, and analyze well-edited content to understand pacing, sound design, and effective narrative structure.